 May
09
May
09
The different stages of making a shoe
- 9th May 2018
- 0 Comment (s)
MAKING A PAIR OF SHOES
DESIGN STEPS
Making any pair of shoes requires advanced skill and a lot of time.
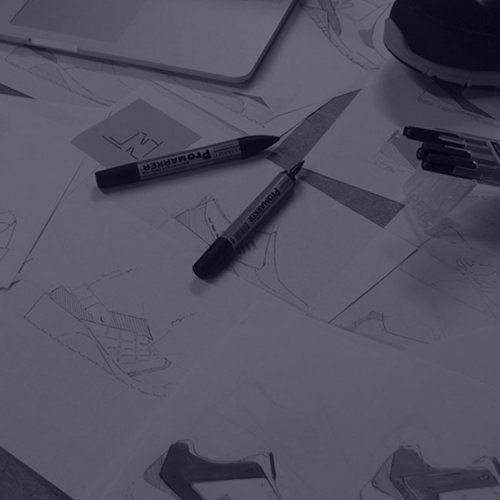
Step 1: The drawing
It all starts with a vision!
Based on a previously identified need, the shoe designer designs the shoe that meets this need. During this first step, nothing is impossible. The designer's drawing will serve as a guide throughout the manufacturing steps.
At the end of this step, specifications are defined and the materials are chosen.
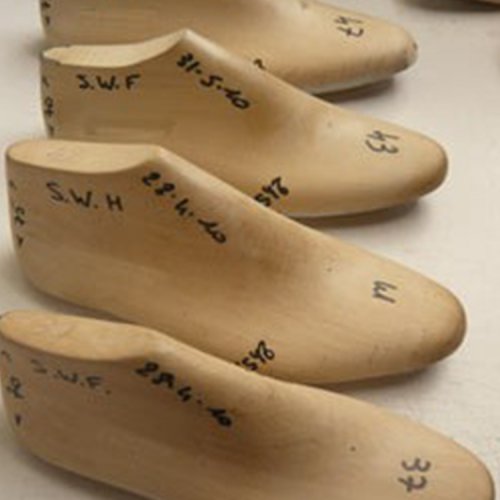
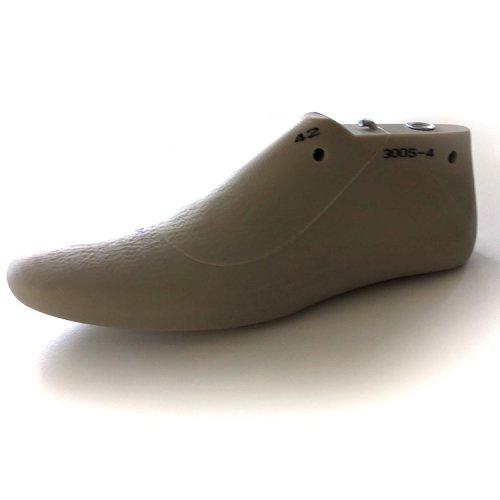
Step 2: The “shape”
At this stage, the former makes the basis of all shoes: the form, the shoe in 3D.
Its mission, to shape the design while maintaining the volumes necessary for the comfort of the foot. This is what will define the fit of a model and make the shoe comfortable to wear! The last maker will not only take into account the elements provided by the stylist, he will think and work on the "shape" to make the final shoe as comfortable as possible.
The "shape" was formerly made of wood, then for practicality and technological advancement it is now made of plastic. Once validated, it will be recreated in all sizes.
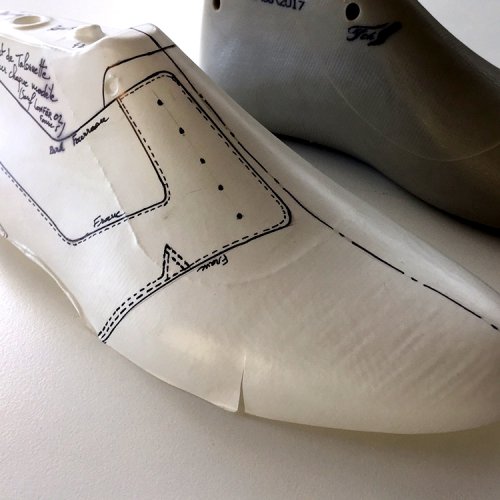
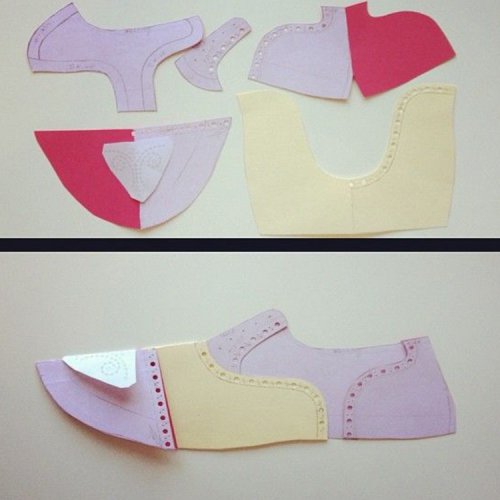
Step 3: Patronage
Put everything down
At this stage of production, the pattern maker / pattern maker comes into play.
He takes care to make a "shell", that is to say a molded replica on the "shape" in a very thin and rigid plastic on which he can draw: Put the drawing on shape.
It is on this shell that he will take the design of the designer and organize the design of the pattern of the shoe. At this stage, the pattern maker will define all the useful information such as seams, perforations, etc.
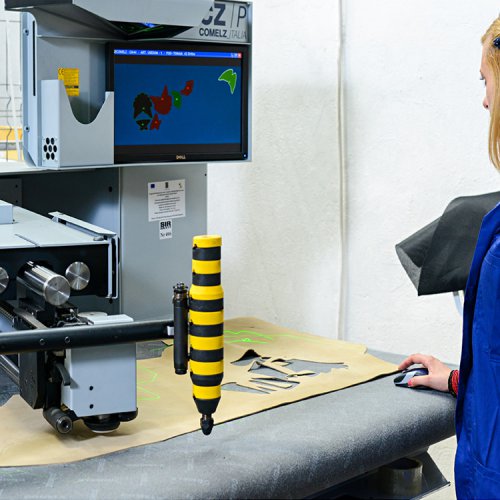
Step 4: Cutting
The cutter is then entrusted with the pattern's pattern. He will select the skins and cut out the different parts of the pattern. The cuts are made with a laser, a water jet or a cookie cutter, or even by hand with a slicer or a suitable cutter.

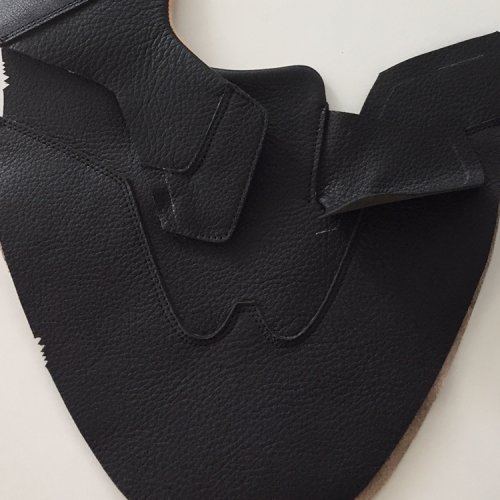
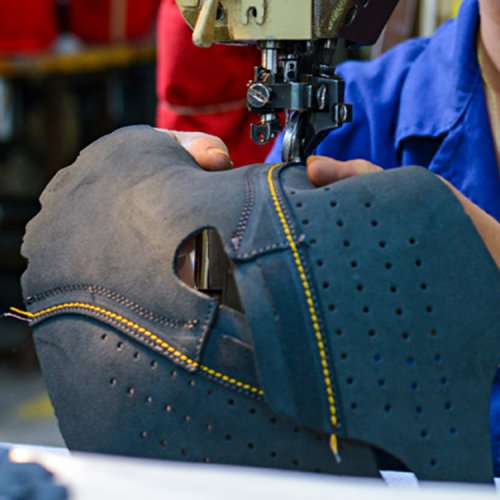
Step 5: The piqueage
The different cut elements will be assembled to form the upper part of the shoe, this is called stitching. At this stage the different parts of the shoe will be sewn together and the shoe will begin to take shape. The end of the assembly is marked by an operation called snapping, consisting in connecting the front and the back of the shoe thus forming the upper.
Step 6: Editing on “shape”
The traditional method is particularly complex, the upper is put back on the shape and the materials will be worked to perfectly match the chosen volumes. The first assembly is fixed in the form before putting the rod on form.
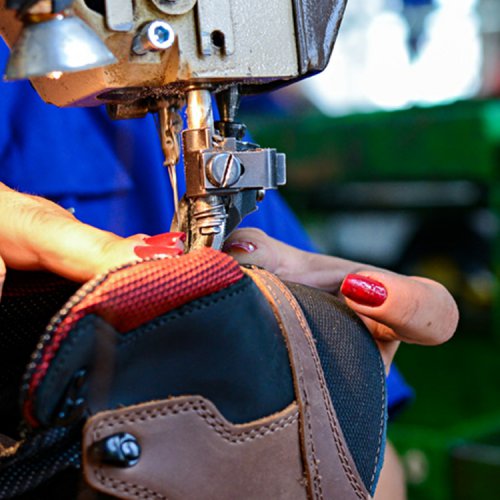
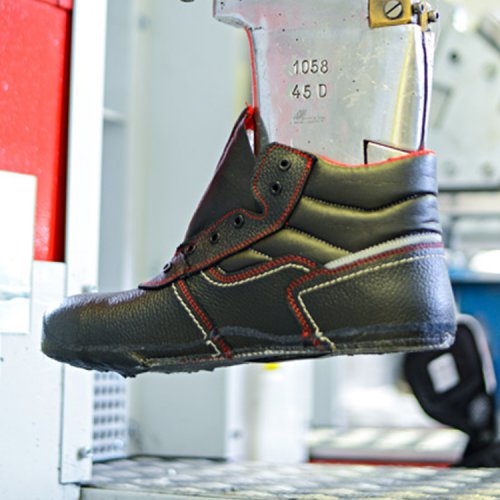
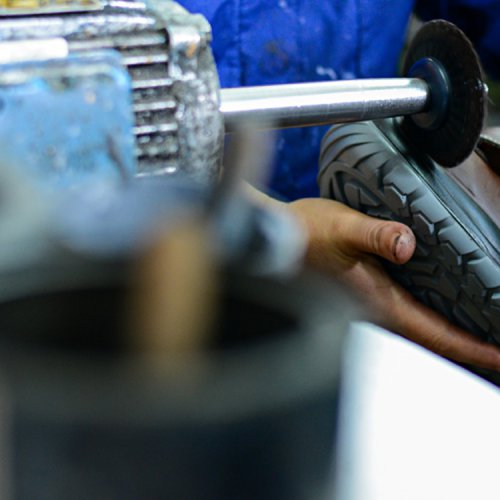
Step 7: The sole assembly
Then it's the turn of the sole to enter.
Several methods are possible for the sole assembly.
1 - For shoes of more traditional design, it will first be glued to the insole and then sewn.
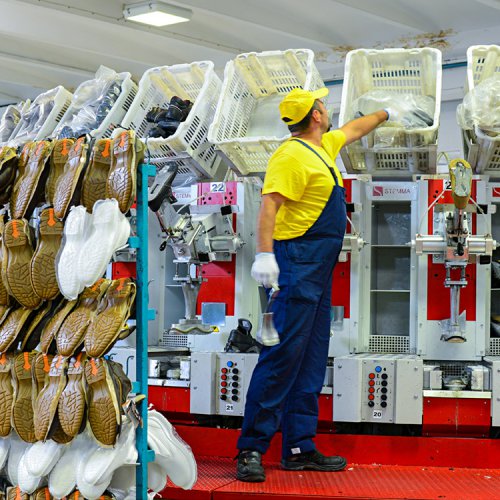
2 - For work shoe models, the sole is most often injected. A bottom mold is placed under the rod and the polyurethane is then sent under pressure into the mold and adheres directly to the material of the rod.
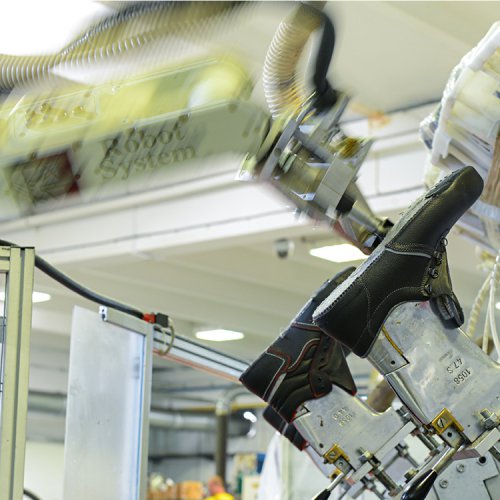
Step 8: the finishing touches or more precisely the “Pampering”
Burning of protruding threads, lacing, waxing, boxing ... The finishing stage is the stage of the small details that are very important.
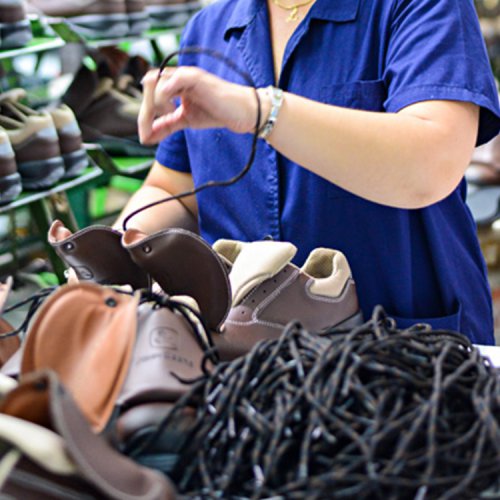
Depending on the models and manufacturing methods, it is possible to count up to 120 different stages.
Now the making of a shoe has no more secrets for you!